winter

The period of time after the holidays are over, but before it starts to warm up has always been a bit sad for me. In Indiana everything is grey and cold during this time and this year we haven’t even gotten enough snow to at least add a little bit of beauty to this often sad season.  I am THAT person who likes to leave the Christmas tree up until Valentine’s day because when it comes down the house just doesn’t feel the same; it becomes sad and empty somehow. However this year I was forced to take our tree down early because a new addition to our family would not leave the tree alone and that was a battle that I just did not want to deal with.

WE GOT A PUPPY!!!

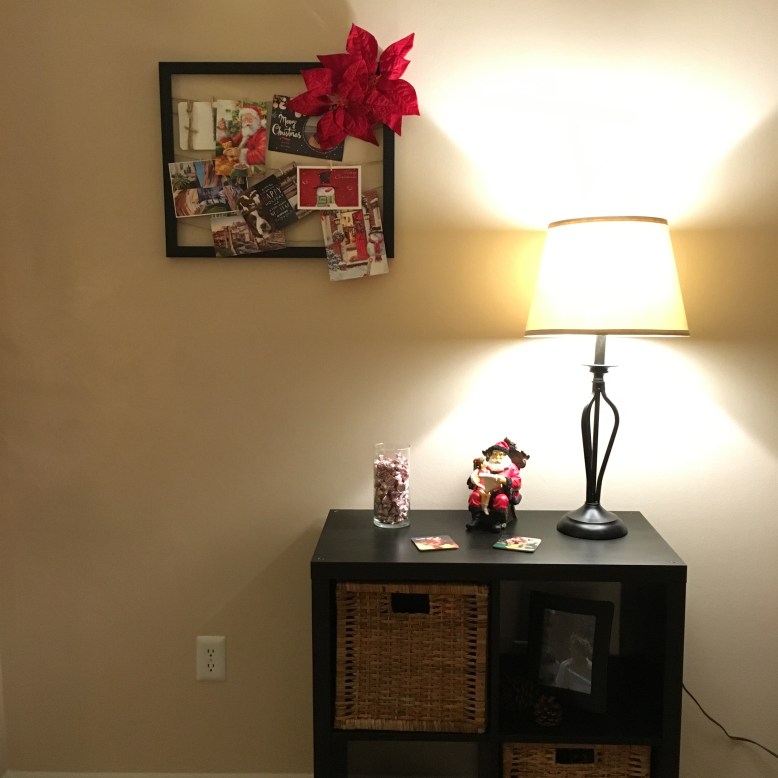
While our new fur baby has certainly helped our spirits this season, the house was still lacking in festiveness. So I decided to do a super easy, super quick project that would at least make the mantle less bare and more pleasing to look at.


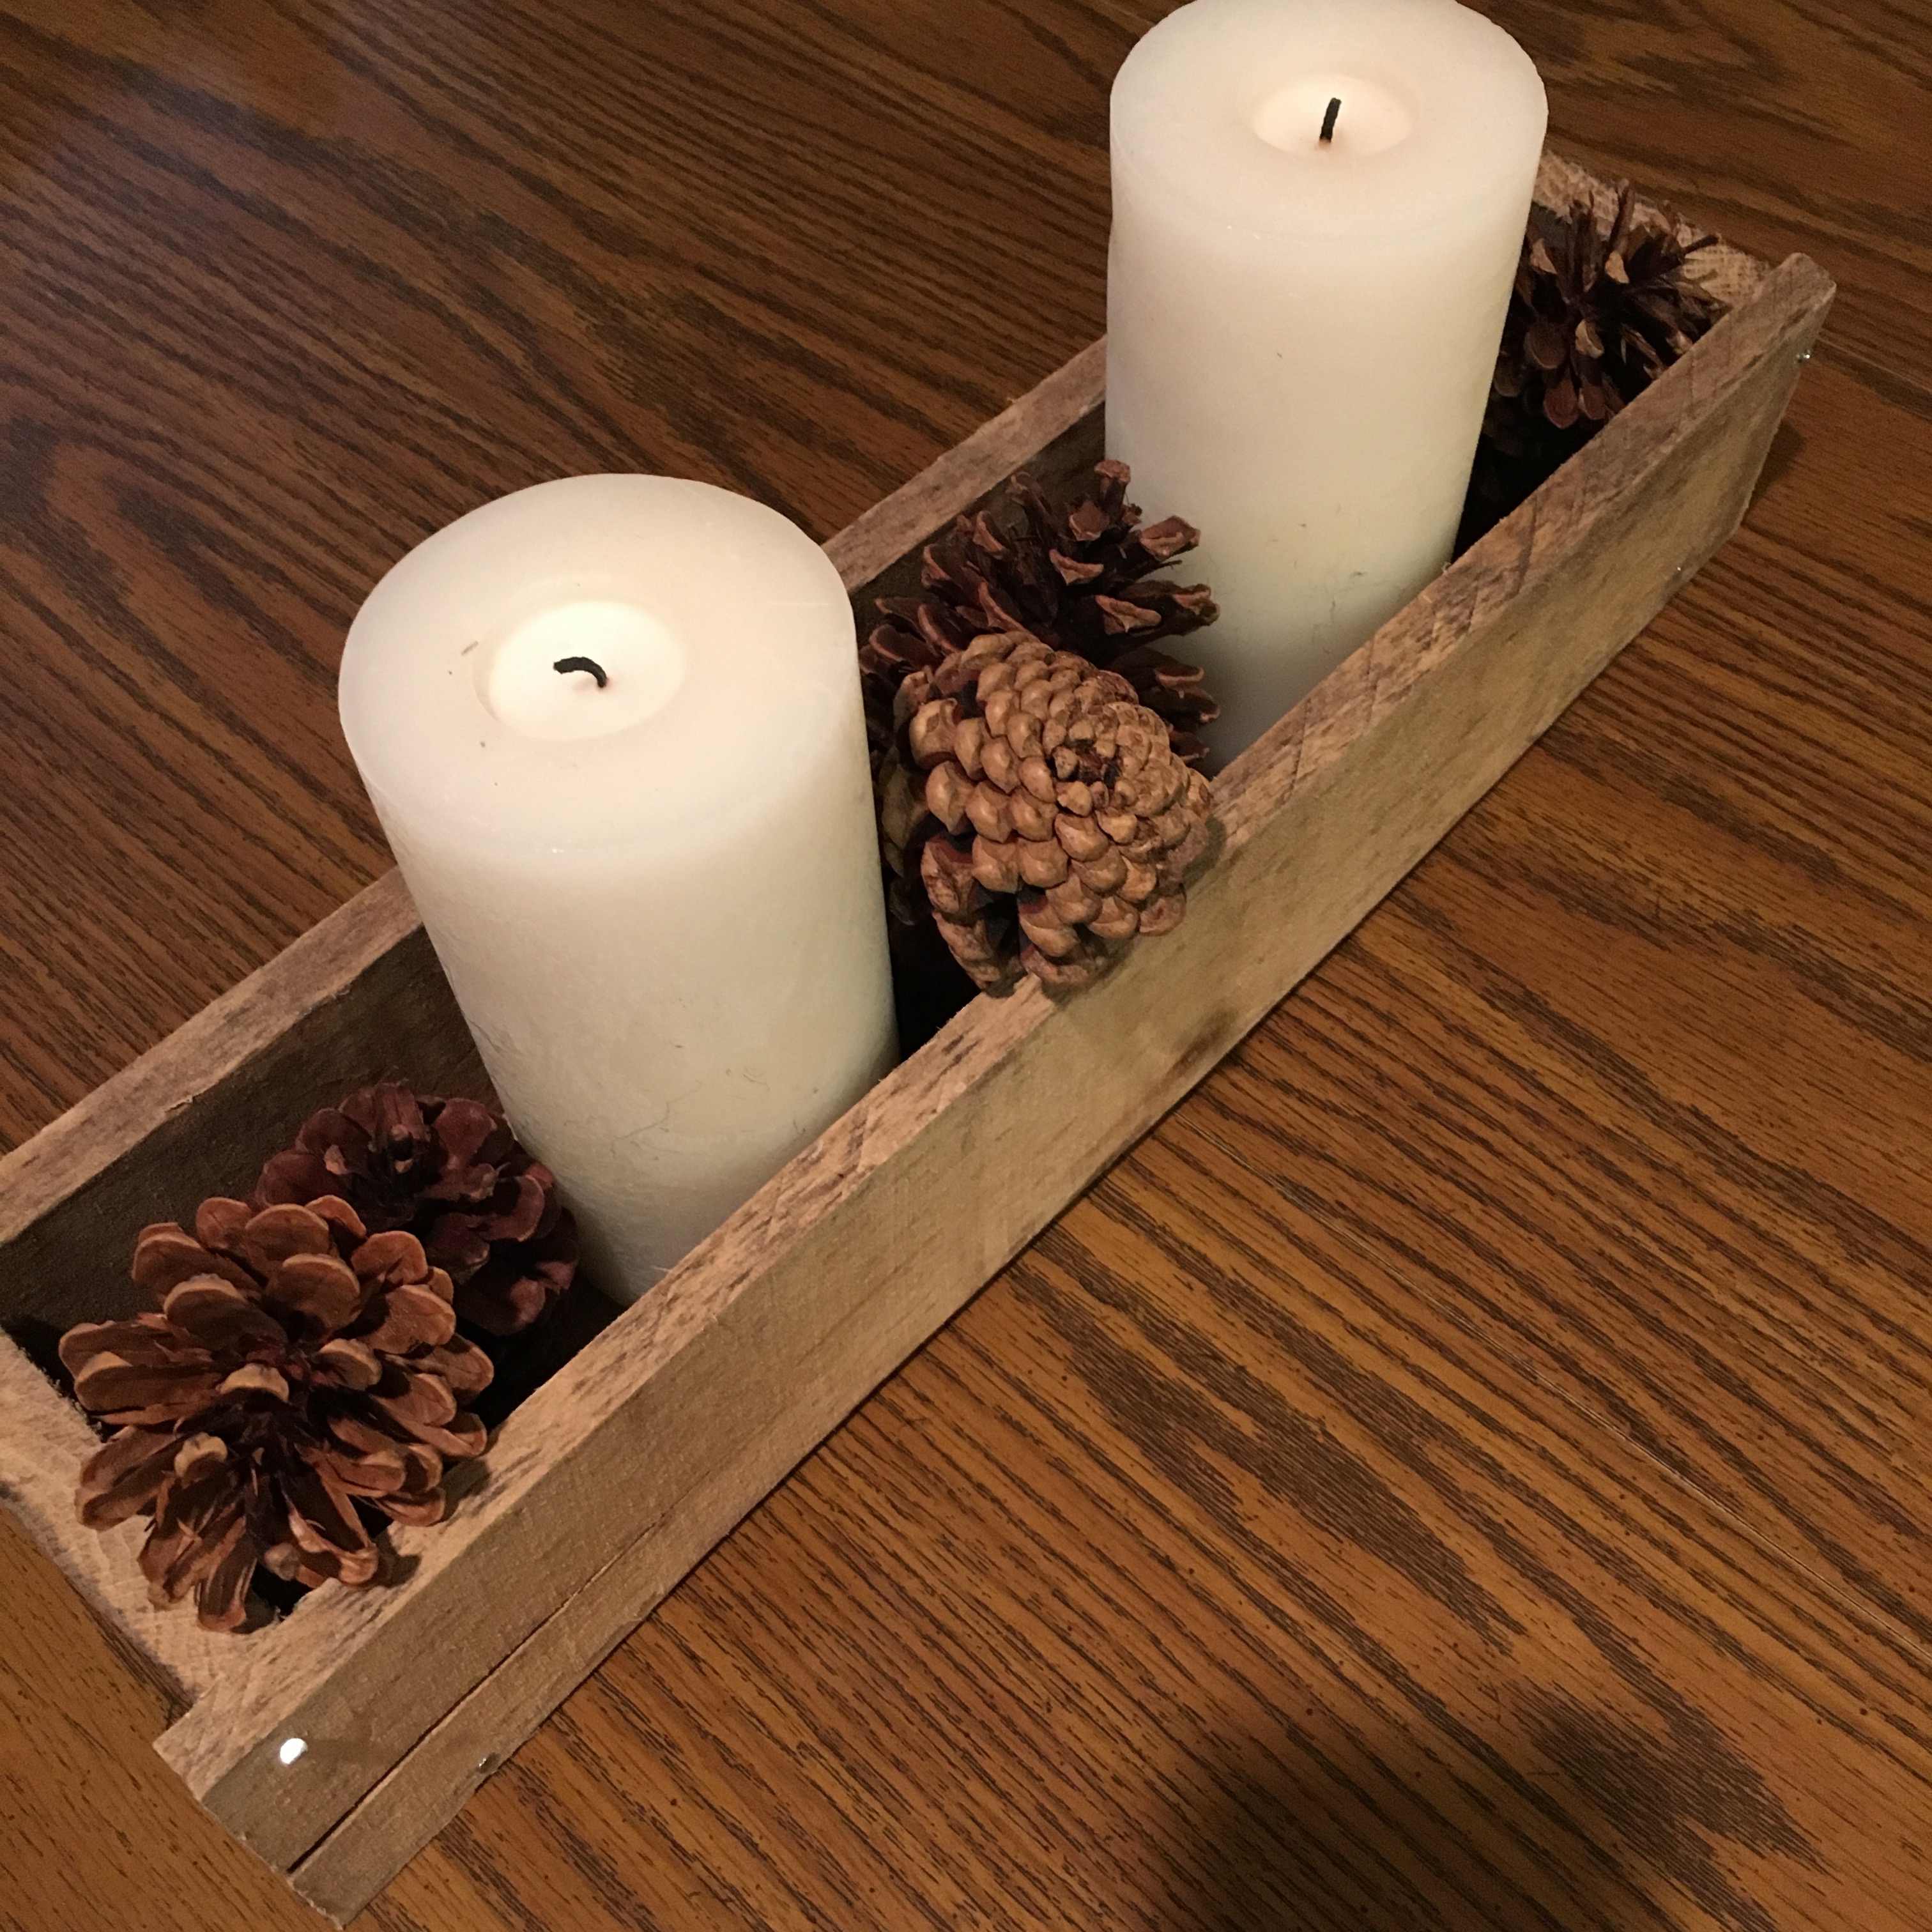
Pine cones are wintery, right? I used pine cones, twine, burlap, and hot glue for this project – all things that I just happened to have lying around the house. My rustic decor tendencies are certainly shining here.

IMG_5160

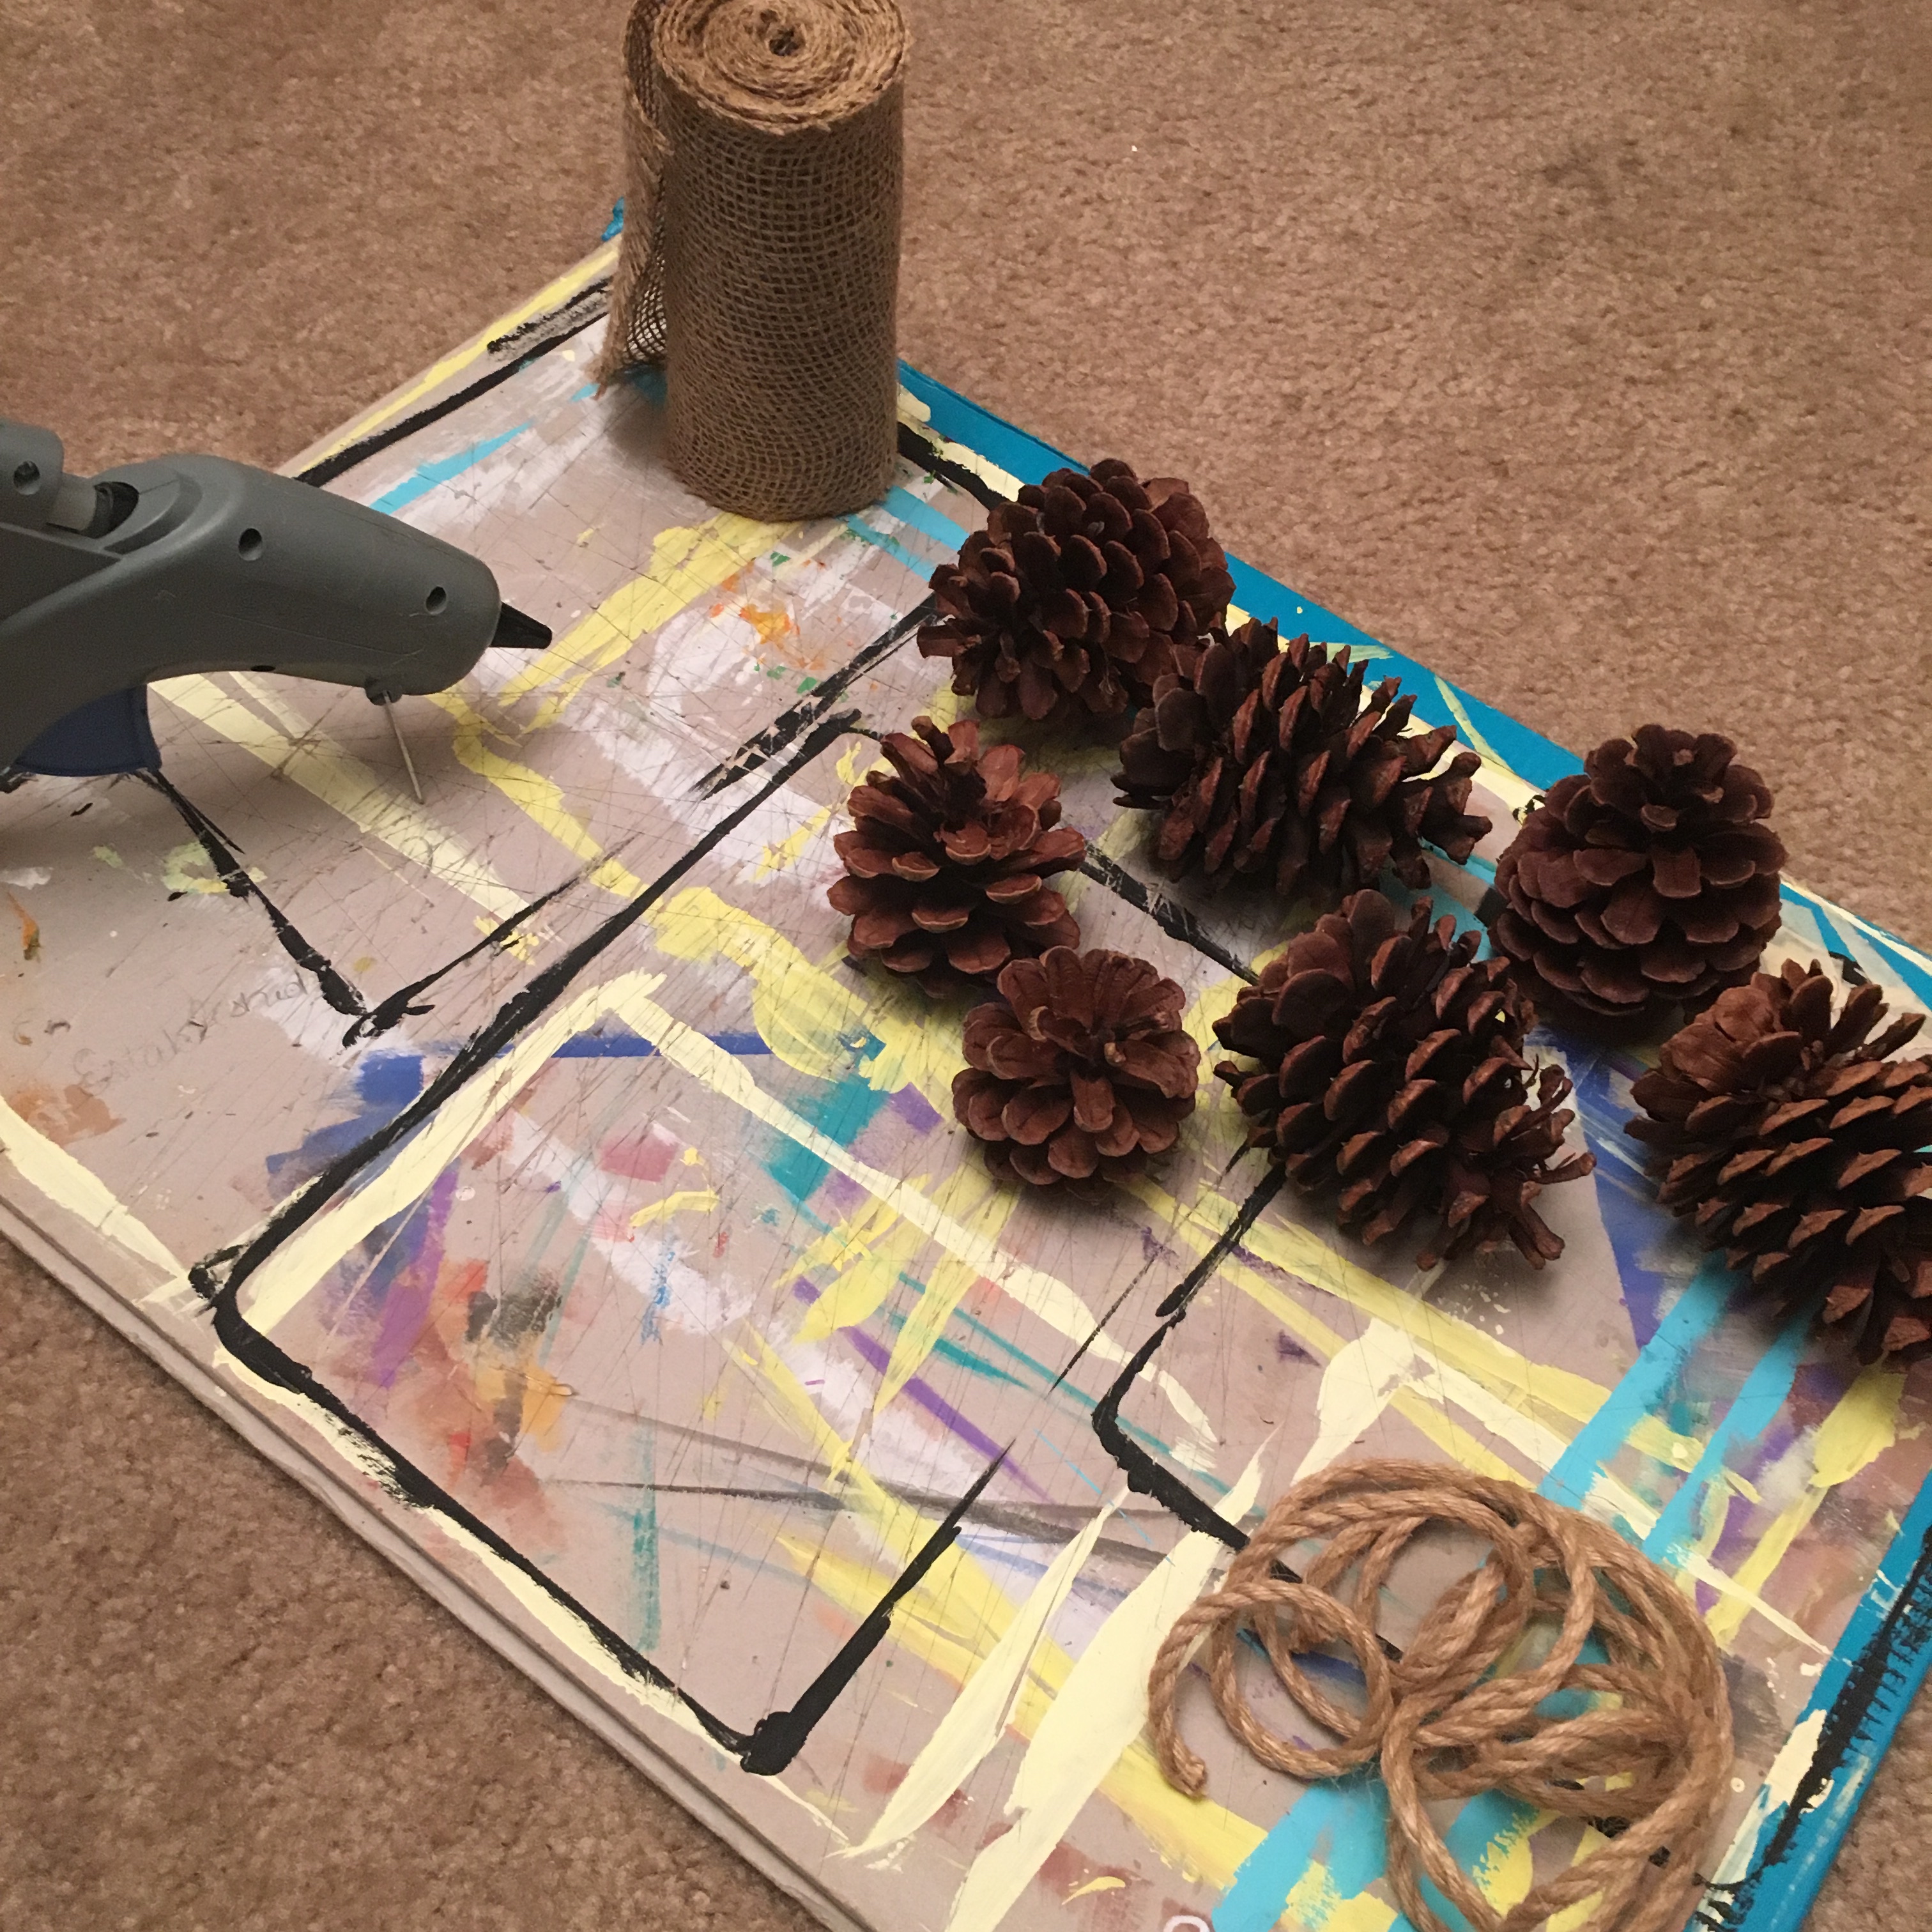
I used hot glue to adhere the top of each pine cone to the twine. Make sure that the twine is long enough to fit wherever you’re planning to hang it. I was fortunate to have flat-topped pine cones giving me a nice surface for the glue to attach. Be careful to hold the twine to the pine cone while the glue is drying. I may or may not have set mine down too early attaching the whole thing to my carpet…

IMG_5162

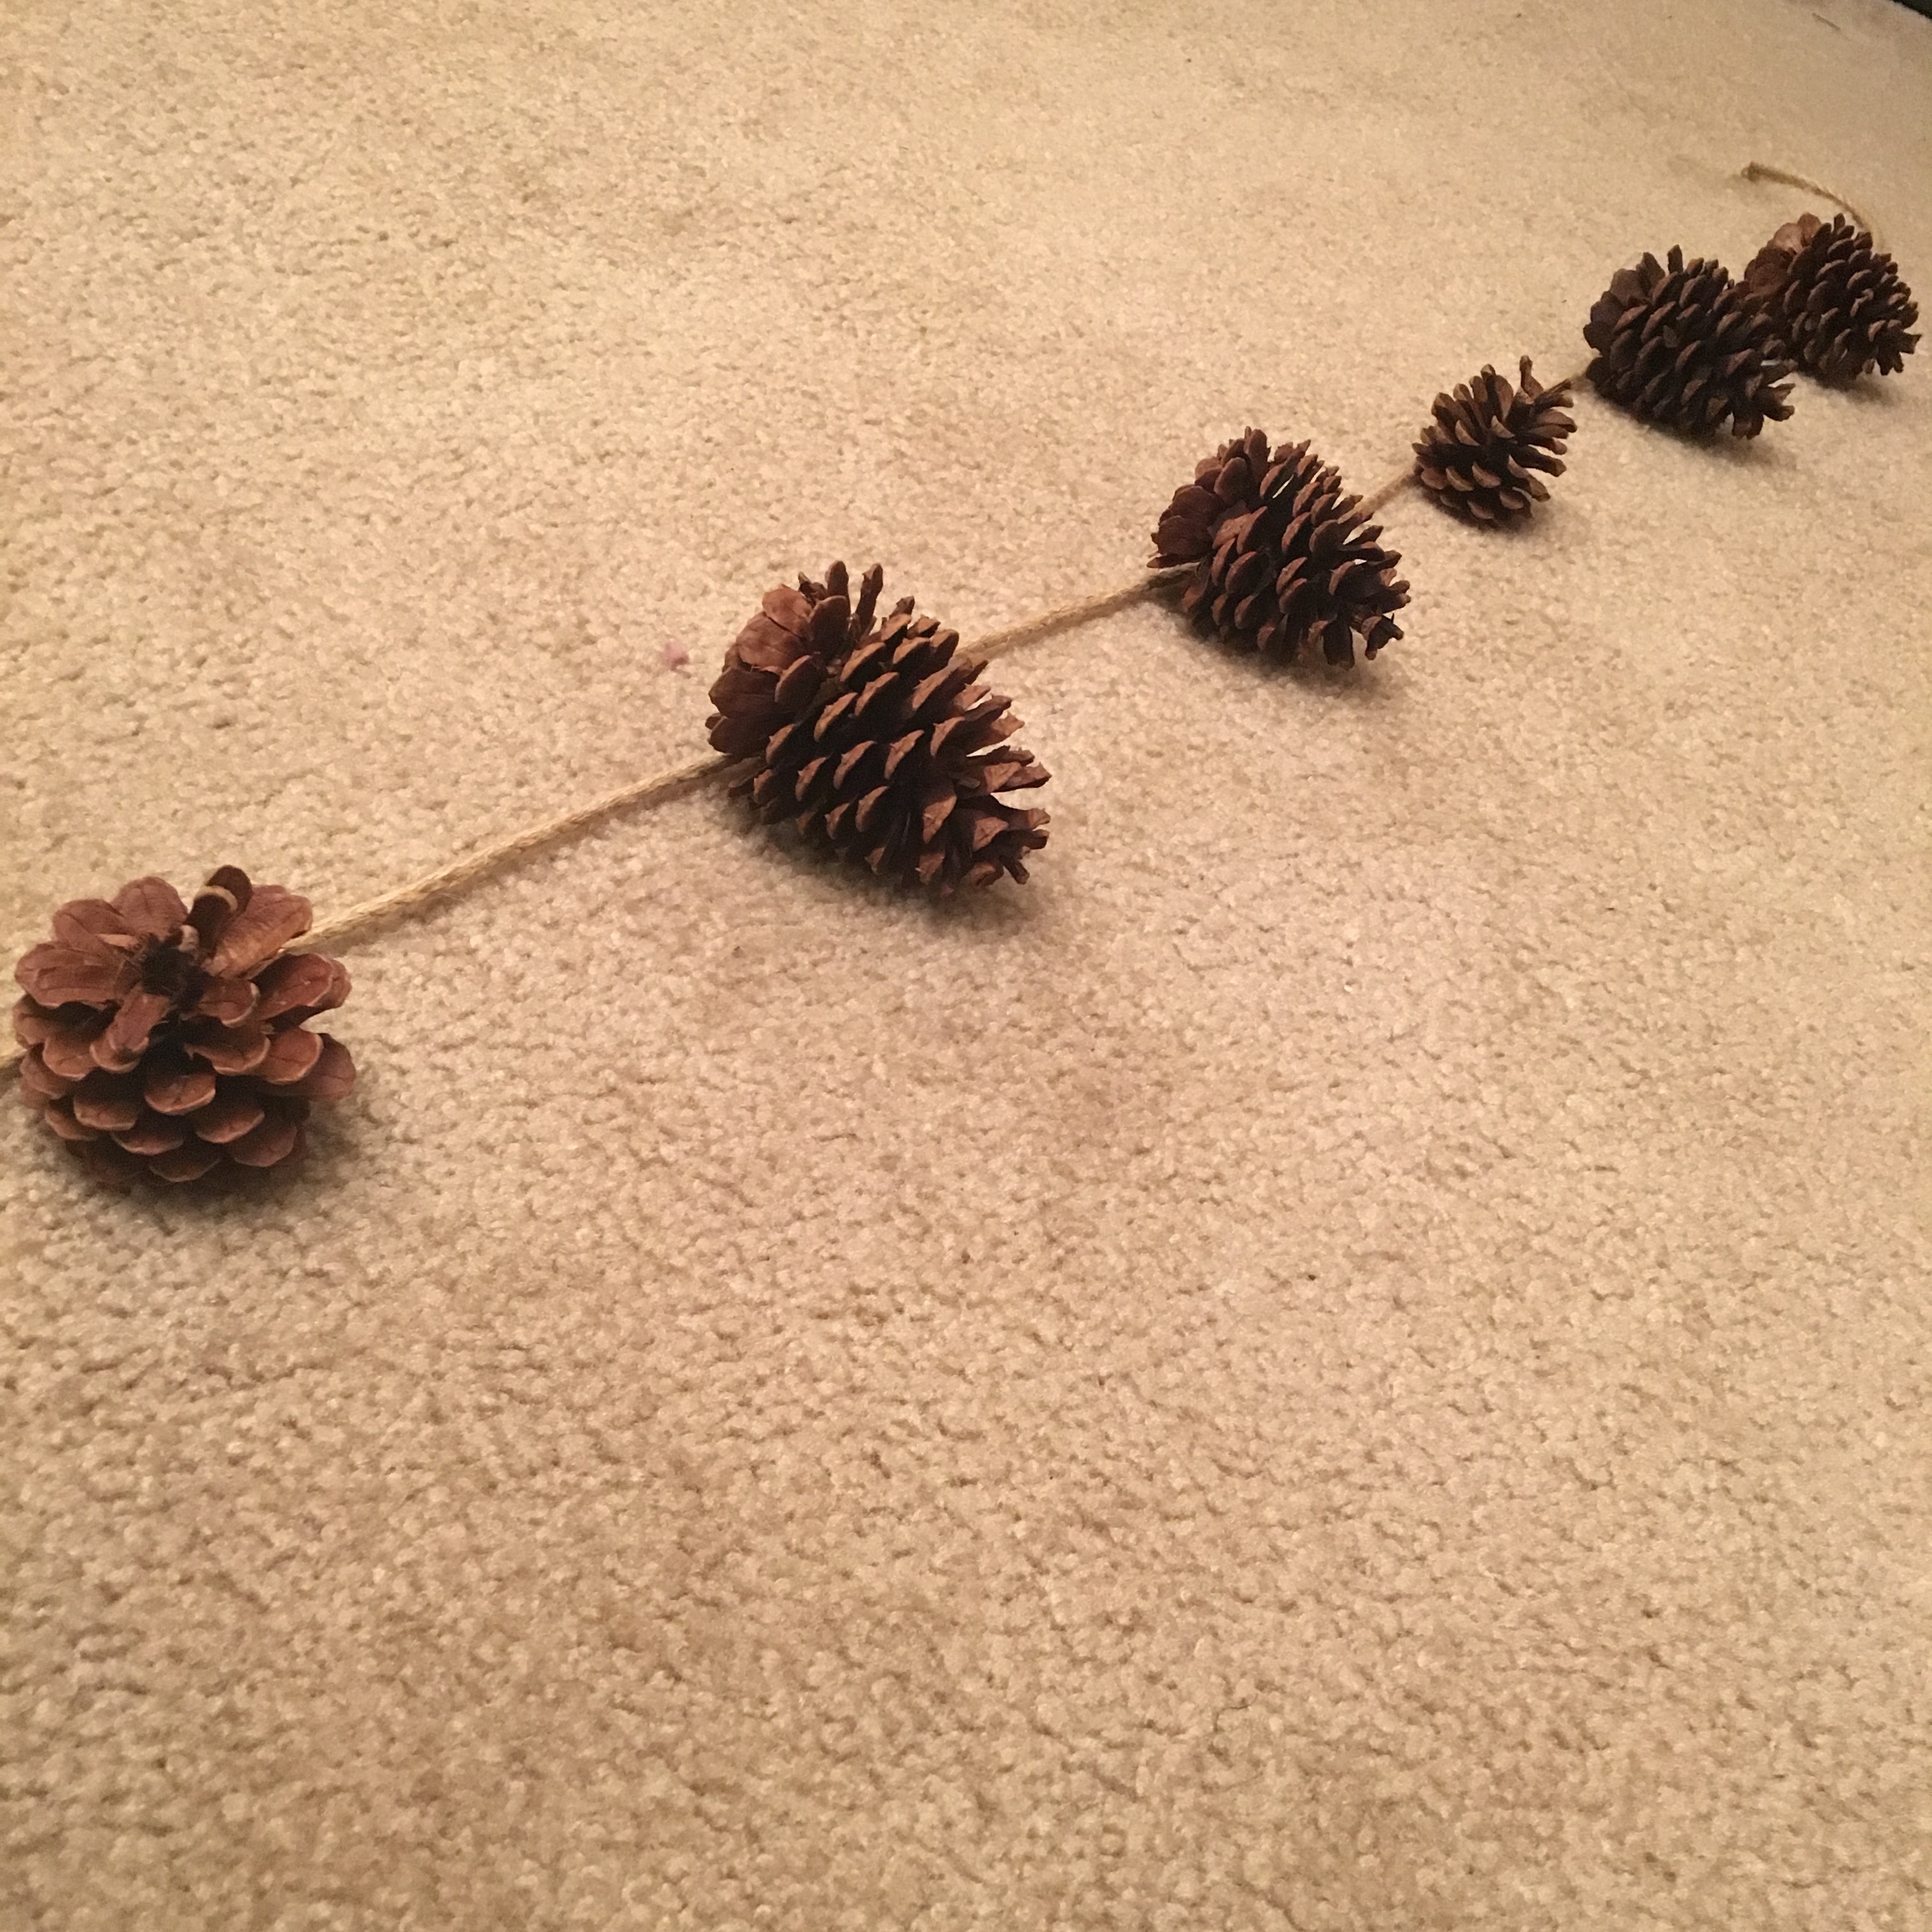
Once I had the a string of pine cones I went ahead and hung them on the mantle. It was at this point that I realized it needed something more. I took a roll of burlap and wrapped it around the twine making sure the pine cones were poking out here and there. I did this without any sort of rhyme or reason to the wrapping because I didn’t want it to look too uniform.

IMG_5163

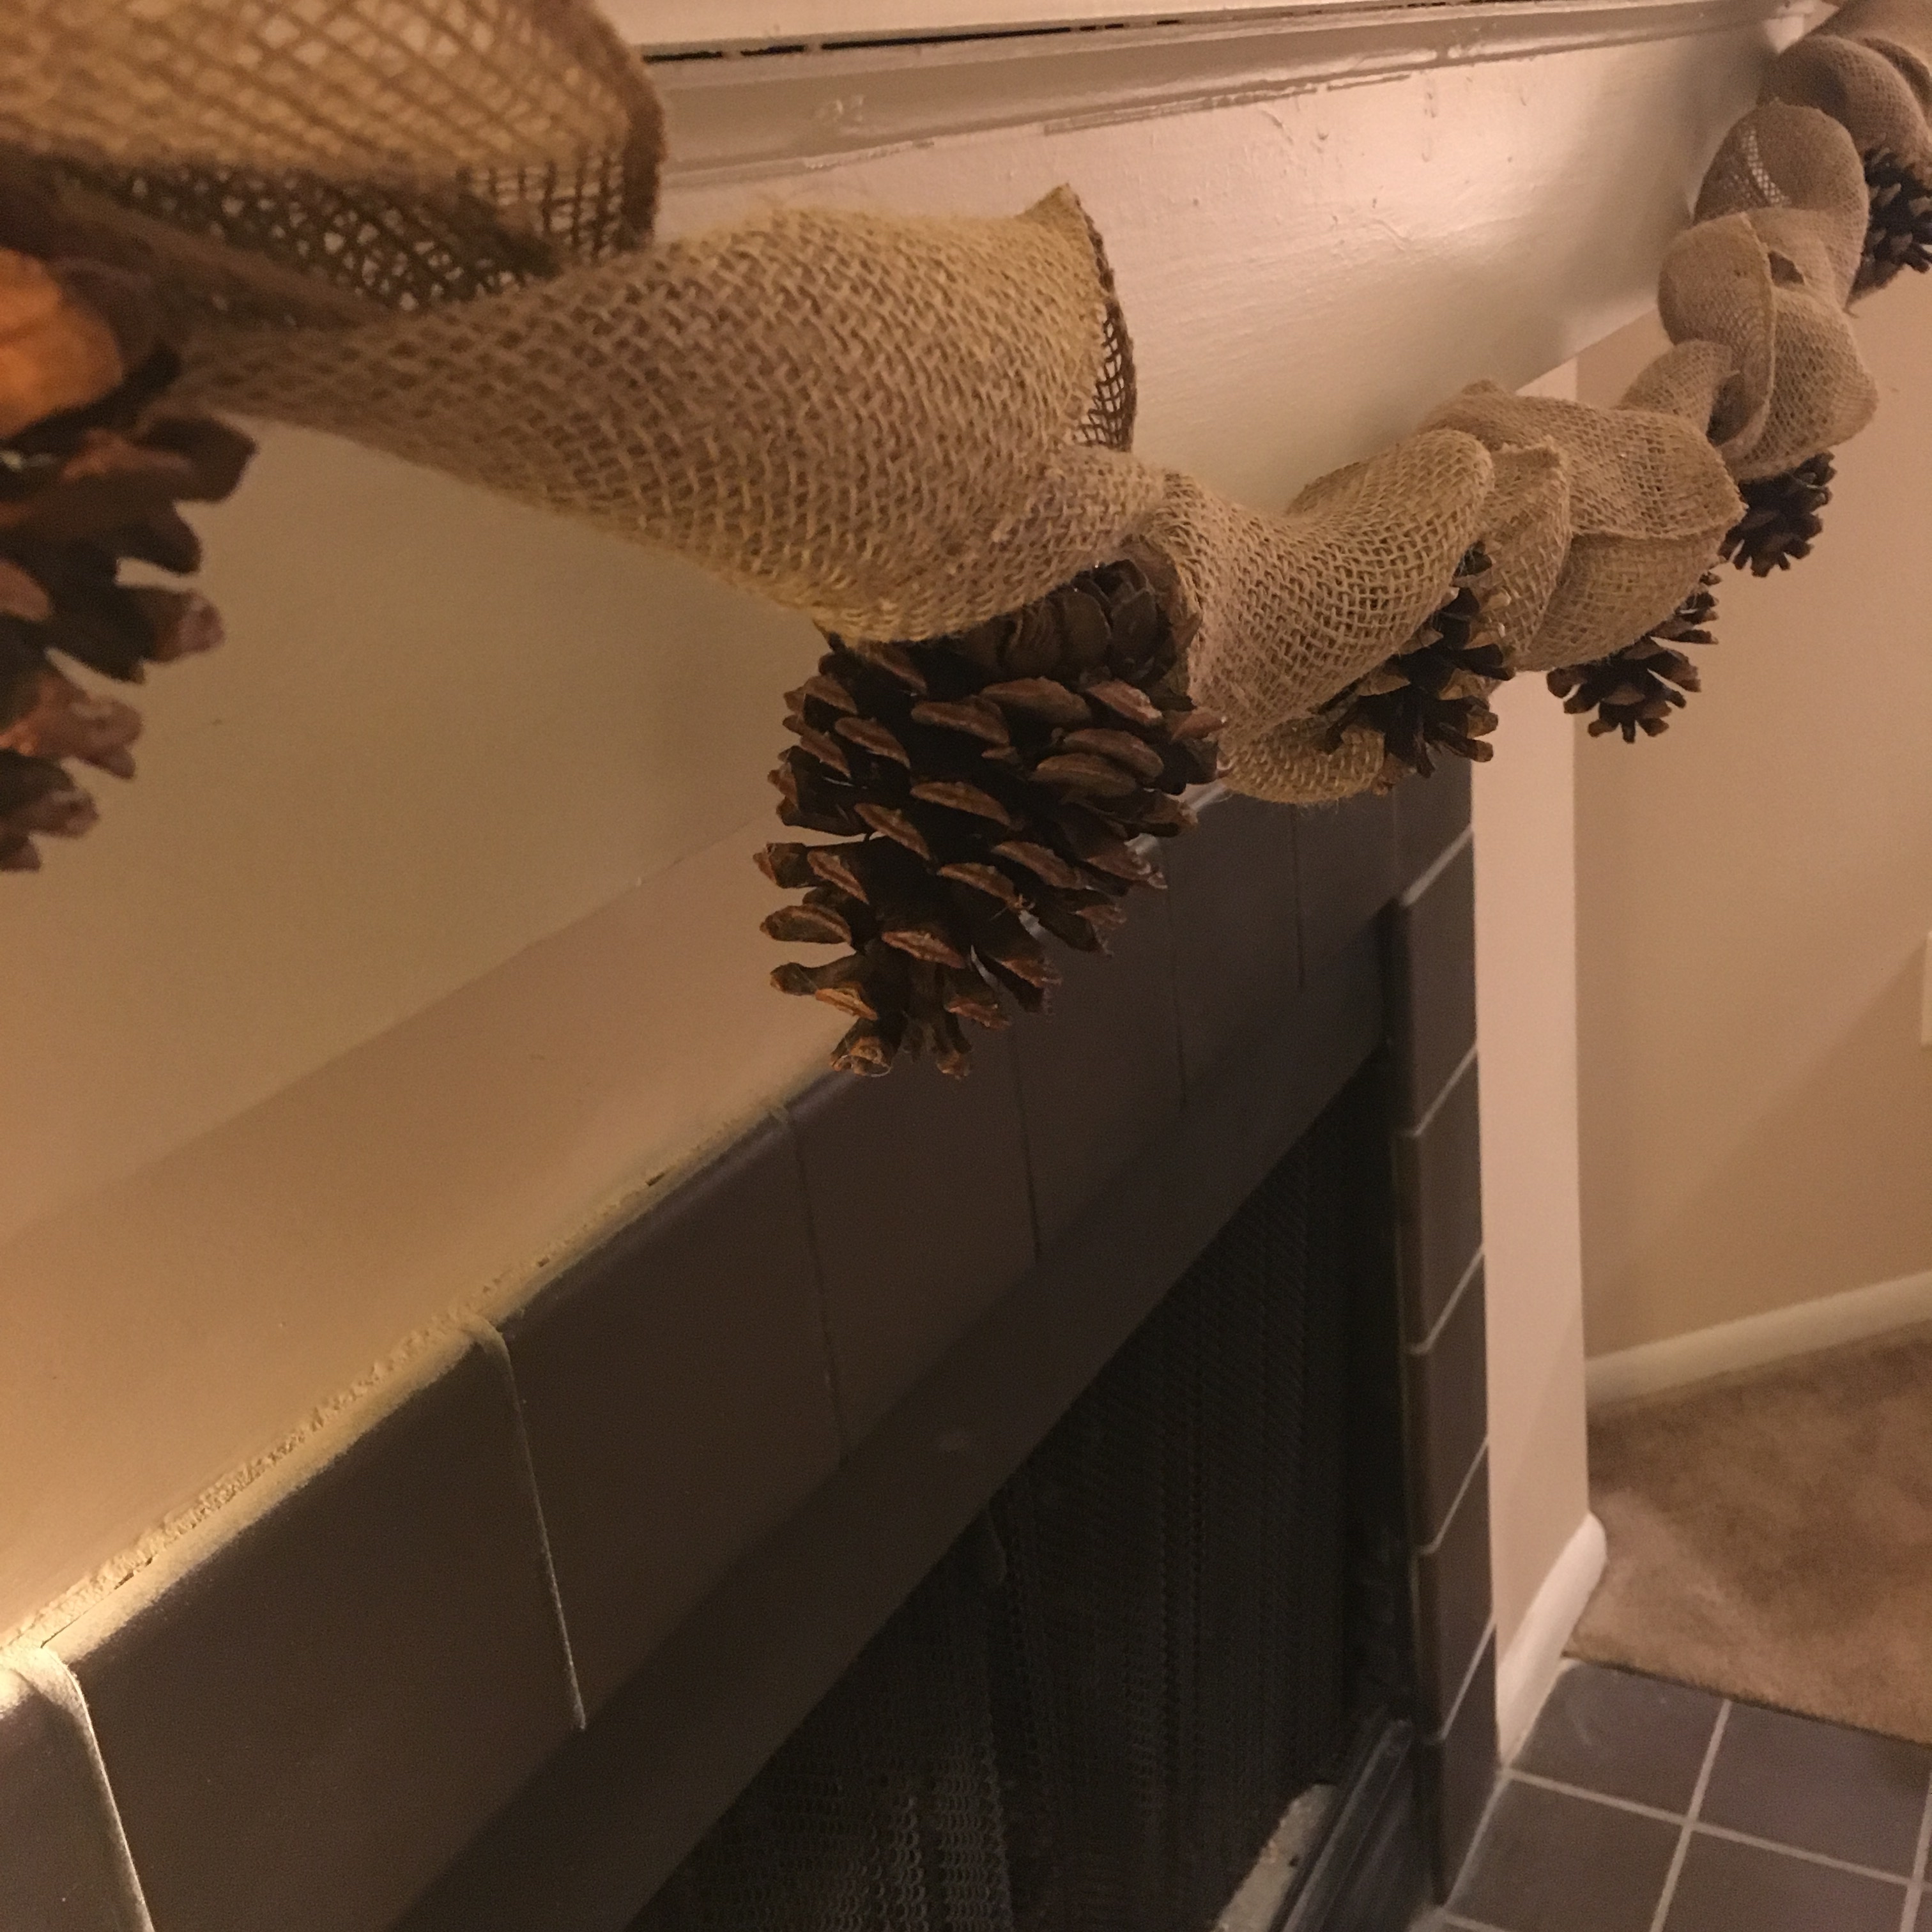
Now my mantle is no longer bare and sad-looking!

at the cross

IMG_5292

I am realizing that rustic-looking signs are quickly becoming my “thing”. This sign was a request from a friend after she saw some of my previous work. I really enjoy both the process of making signs like these as well as the final product. They can be inspirational or even corny, and who doesn’t like inspirational and corny? OK, probably a lot of people but oh well;)


Since this is going to be hung in someone else’s home, I wanted it to be made well, so I chose to buy the wooden board this time around instead of making it. I still have a long way to go to learn the proper way to build these signs (as well as how to use the tools). I bought this wooden board at Hobby Lobby using their 40% off coupon.

IMG_5284

First I roughly painted the board grey (for that rustic feel). Then using my go-to method for letter transfer, I stenciled the graphic on to the sign. This process is super easy: you choose a font and the size you want and print it out. Cover the back of the printouts with chalk, then lining it up properly on the board you can simply trace the graphic with a pen.

IMG_5285

You will be left with this chalk outline of the graphic.

IMG_5286

Although slightly tedious, now the only task left is to paint the lettering. I use acrylic paint for projects like this because of how quickly it dries. I’m impatient when it comes to waiting for paint to dry; I hardly ever have enough patience to let my nails dry when I do them.

IMG_5291

And Tah-Dah, a finished inspirational sign!

what’s cookin’?

One thing that I really do not enjoy is grocery shopping. I could vent on this subject for days, but instead I am going to share one thing that makes shopping for groceries just a little bit easier: having a menu. I find that when I have a weekly menu planned out for my household, I am less likely to forget to buy an important ingredient and I am less likely to have food that goes bad before it gets used. Usually on Mondays I will sit down with my recipe book and decide what meals we will be having for the week. From this I am able to make a grocery list and do a shopping trip. Of course I do not stick to the menu like it’s written in stone… Sometimes I just don’t feel like cooking or maybe some better offer comes along, but I still find the menu to be a great tool for avoiding the “what do you want for dinner tonight?” conversation as well as for staying within our monthly grocery budget.

A fun and decorative way to make a menu each week is to have a menu board. Or in my case, a menu wall. This project was simple and inexpensive to make and it is a lot of fun to use!


First I went shopping! I found all seven picture frames at Goodwill for under $10. They are different shapes and sizes and I opted for worn-looking black and wooden frames. You could easily choose more uniform frames, but it might be difficult to find seven frames that are exactly the same at a second-hand store. It is important to get frames that have removable glass. There are some decorative frames that are made without access to the glass which will make painting them difficult.

I removed the glass and spray painted them with chalkboard paint. I bought my paint, but I have seen tutorials for making your own chalkboard paint that might be worth checking out.

After the paint was dry, I used acrylic paint markers to write the days of the week. This was my own handwriting, but if there is a specific font that you prefer you can always use the chalk transfer method that I explained on my “home is wherever i’m with you” post.

Finally after putting the glass back into the frames, I did a lot of measuring and calculating to hang the frames on the wall in my dining room.


the most wonderful time of the year

IMG_4954

I absolutely love everything Christmas. I like to embrace all things Christmas the day after Thanksgiving and not a moment before. It is a tradition in our family that the ladies go Black Friday shopping while the men go deer hunting then we all come together to put out the Christmas decorations in the afternoon (some family members enjoy this tradition a little more than others).


I dream of someday having decorations that look like something out of a magazine, but for now these are the humble decorations that I currently have. They are pretty simple and of course mostly handmade; what a great time of year for all different kinds of crafting!

IMG_4958

The Noel letters are simply cardboard letters that I bought from Hobby Lobby. I painted them with a red acrylic paint and stood them up in front of my fireplace.

IMG_4960

IMG_4963

You can find instructions for making this card displaying frame here.

IMG_4962

I like to think that I am good at gift-wrapping, but the truth is only every couple of presents end up looking good. This year I found a package of cute little bells at Hobby Lobby so I decided to try them on presents. They turned out pretty cute when paired with twine and my mom’s awesome handmade gift tags.

IMG_4959

I don’t know why, but I absolutely love dressing up my fridge like a snowman this time of year. This is just construction paper cut into the shapes that you see. It’s a seriously simple and easy way to make your kitchen festive!

IMG_4966

Pine cones are simple and cute and smell great! I put them everywhere this time of year.

IMG_4965

Some of my favorite Christmastime traditions are going to the Yuletide Celebration downtown, watching tons of Christmas movies (my favorites are Elf, It’s a Wonderful Life, A Christmas Story, and White Christmas), driving around to see everyone’s Christmas lights on display, and most of all getting to spend time with my family. What are some of your favorite Christmas traditions?

displaying cards

Displaying holiday and birthday cards can be difficult when you run out of room on your bookshelf and mantle or just when they won’t stand up on their own (like post cards). I have some family members who hand make all the cards that they give and of course these beautiful cards deserve to be displayed. The apartment where my husband and I lived in Bloomington had cabinets in the living room that were perfect for displaying cards and even pictures that we received. But when we moved we lost that convenient display method. My solution? A DIY project of course!

I originally made this frame display specifically for Christmas cards and I thought that it would be put away at the end of the season with all my other Christmas decor. I realized though that it is perfect for all cards and photos that we receive throughout the year and does not have to be holiday specific. However, I do like dressing it up with some poinsettia clip on flowers at Christmastime.


Like most of the projects that I do, this is a very simple, inexpensive, and useful one. It only requires an empty frame (any size and color you like), twine, a hot glue gun, and mini clothes pins.

I cut five pieces of twine to be the length of the frame. You can display the frame either landscape or portrait style, but whichever you choose the twine will need to be attached horizontally.

Making the twine tight, simply attach the ends to the back of the frame using hot glue. As this display gets used, the twine will stretch (as you can see was the case with mine) so it’s important to go ahead and make the strings tight now.

I also did not worry about making the twine go straight across the frame. This is a style preference and can certainly be done either way.

IMG_4793

I bought miniature clothes pins from a craft store to pin the cards on the twine. I like the natural look of the wood, but these could also be painted any color that you might like.


Here is what my frame looks like at Christmastime!

IMG_4961

home is wherever i’m with you

A little over a year ago my husband and I moved from our small college town in southern Indiana in favor of city life in Indianapolis. Matt and I met at Indiana University, got married in Bloomington, and lived there for the first two years of our marriage. While Indy was just moving back home for my husband, it has been a completely new experience for me having grown up in a very small town in southern Indiana. I’m not a fan of living in the city (yet), but I do not doubt that this is where the Lord has us right now and I am very grateful to not only be close to my in-laws, but to also be a part of a wonderful church here.

Moving gave us double the square footage that we had in Bloomington and I needed to figure out how to fill the walls and make this new place our home. A song that I absolutely love by Edward Sharpe and the Magnetic Zeros says “Home is wherever I’m with you” and I used this line to inspire the artwork that I made to hang above our couch in the living room.

Here is a little DIY project that I made. It didn’t take a whole lot of time to create this sign, but it did take a lot of effort because I do not own any power tools.


The first thing that I did was build the sign. Using reclaimed wood from an old pallet, I built my canvas by hand. This step can easily be skipped because wooden signs can be found in almost any craft store (my favorite is Hobby Lobby).

I chose a font online and printed out the words from the song in the size that I wanted. I did the same with the outline of Indiana.

IMG_3561

As much as I dislike my own handwriting, I freehanded the H, M, and E because there is something beautiful about not having perfection in a work of art.

I colored the back side of the printouts with white chalk. I then arranged the print outs on the sign face up where I wanted them. Using a pen I traced the words and the outline of Indiana. Doing this will transfer a chalk line onto the wood.

Once the outline was there, I simply painted the sign using black acrylic paint.

Erasing the chalk outline was easy with just a wet paper towel. Then I called on my husband to drill holes and hang it on the wall. We had to use heavy duty hanging equipment because that thing is very heavy and we didn’t want it falling on to anyone’s head while they are sitting on our couch.